Coming up:

Monday, August 13, 2012
Wednesday, August 1, 2012
Experiment time: Can I sew a bra into my bathing suit?
It's the summer time, I live near the beach, I like to visit occasionally and next week I'm on vacation! So, in my perilous hunt for a bathing suit, I had one main requirement: I want one with a proper bra, complete with underwire. Shouldn't be so bad, right? Wrong. Because I'm a bit... chesty and curvy (being nice), finding a bathing suit not made for old ladies, that was cute and didn't cost the same as my car, was like finding the infamous white whale (no pun intended for what I look like in the suit.)
Right. Here goes nothing:
What you'll need:
Line up the bra in the bathing suit to see where everything is going to hit. You want to make sure the underwire (if you're using a bra with one) is inside the front of the bathing suit and doesn't overlap into the back, or go over the seams. Pin so that you can't see it when you're looking at it from the outside.
Step Two:
You're not going to stitch where you think you're going to be stitching! Surprise! No, you're not stitching around the perimeter, you're going to stitch the bra to the existing bra in the suit. You will end up with a funny stitch. **When trying the knot for the thread that's going to anchor the stitch, make sure you start the thread so that the knot is on the outside of the real bra, but on the inside of the swimsuit bra. This way the nylon thread won't rub against you and annoy the bejesus out of you.
Step Three:
Stitch the bra around the perimeter of the suit cup. ***DO NOT stitch to the outside of the suit, you don't want to see the stitching on the outside. You can hold the outside away from the cup and needle so you don't catch it and cause a run. ***Keep checking the front of the suit to make sure you can't see the tops of the bra.
Step Four:
Stitch the middle of the bra to the inside of the suit with a straight down stitch. (No picture, sorry!)
Step Five:
Continue on to the next cup with the same principle as the first. Do not cut off the band of the bra, as you should be able to wear the band without it showing.
I am so completely shocked and proud of myself that I didn't cock this up and make a mess of it. It looks fantastic! You can't even tell it's been sewn in and my boobs sit where they're supposed to be and they won't be flopping around!
I won't subject you to a picture of me in the suit, but you get the gist. Let's go to the beach!!
xoxo g
Right. Here goes nothing:
What you'll need:
- Swim suit with saggy cups (those awful, flimsy, no good cloth cups)
- A bra you don't mind "altering."
- Several needles
- Nylon thread
Line up the bra in the bathing suit to see where everything is going to hit. You want to make sure the underwire (if you're using a bra with one) is inside the front of the bathing suit and doesn't overlap into the back, or go over the seams. Pin so that you can't see it when you're looking at it from the outside.
Step Two:
You're not going to stitch where you think you're going to be stitching! Surprise! No, you're not stitching around the perimeter, you're going to stitch the bra to the existing bra in the suit. You will end up with a funny stitch. **When trying the knot for the thread that's going to anchor the stitch, make sure you start the thread so that the knot is on the outside of the real bra, but on the inside of the swimsuit bra. This way the nylon thread won't rub against you and annoy the bejesus out of you.
Step Three:
Stitch the bra around the perimeter of the suit cup. ***DO NOT stitch to the outside of the suit, you don't want to see the stitching on the outside. You can hold the outside away from the cup and needle so you don't catch it and cause a run. ***Keep checking the front of the suit to make sure you can't see the tops of the bra.
Step Four:
Stitch the middle of the bra to the inside of the suit with a straight down stitch. (No picture, sorry!)
Step Five:
Continue on to the next cup with the same principle as the first. Do not cut off the band of the bra, as you should be able to wear the band without it showing.
Stitches shown just stitched to the inside bra
Step Six:
***OPTIONAL*** Depending on the cut of your suit, if you have regular tank straps, you can wear your straps like normal.
Mine is a halter, so I cut the straps at the base of the band, right above the back band, sewed them together to form a halter. ***I was able to keep the strap adjusters on the straps because of how they were placed on the front of the straps and not the back. If yours are on the back, you can either cut the straps off completely or measure them and then sew so that they are taut.
I am so completely shocked and proud of myself that I didn't cock this up and make a mess of it. It looks fantastic! You can't even tell it's been sewn in and my boobs sit where they're supposed to be and they won't be flopping around!
I won't subject you to a picture of me in the suit, but you get the gist. Let's go to the beach!!
xoxo g
Tuesday, July 31, 2012
Fancy Toe Flats
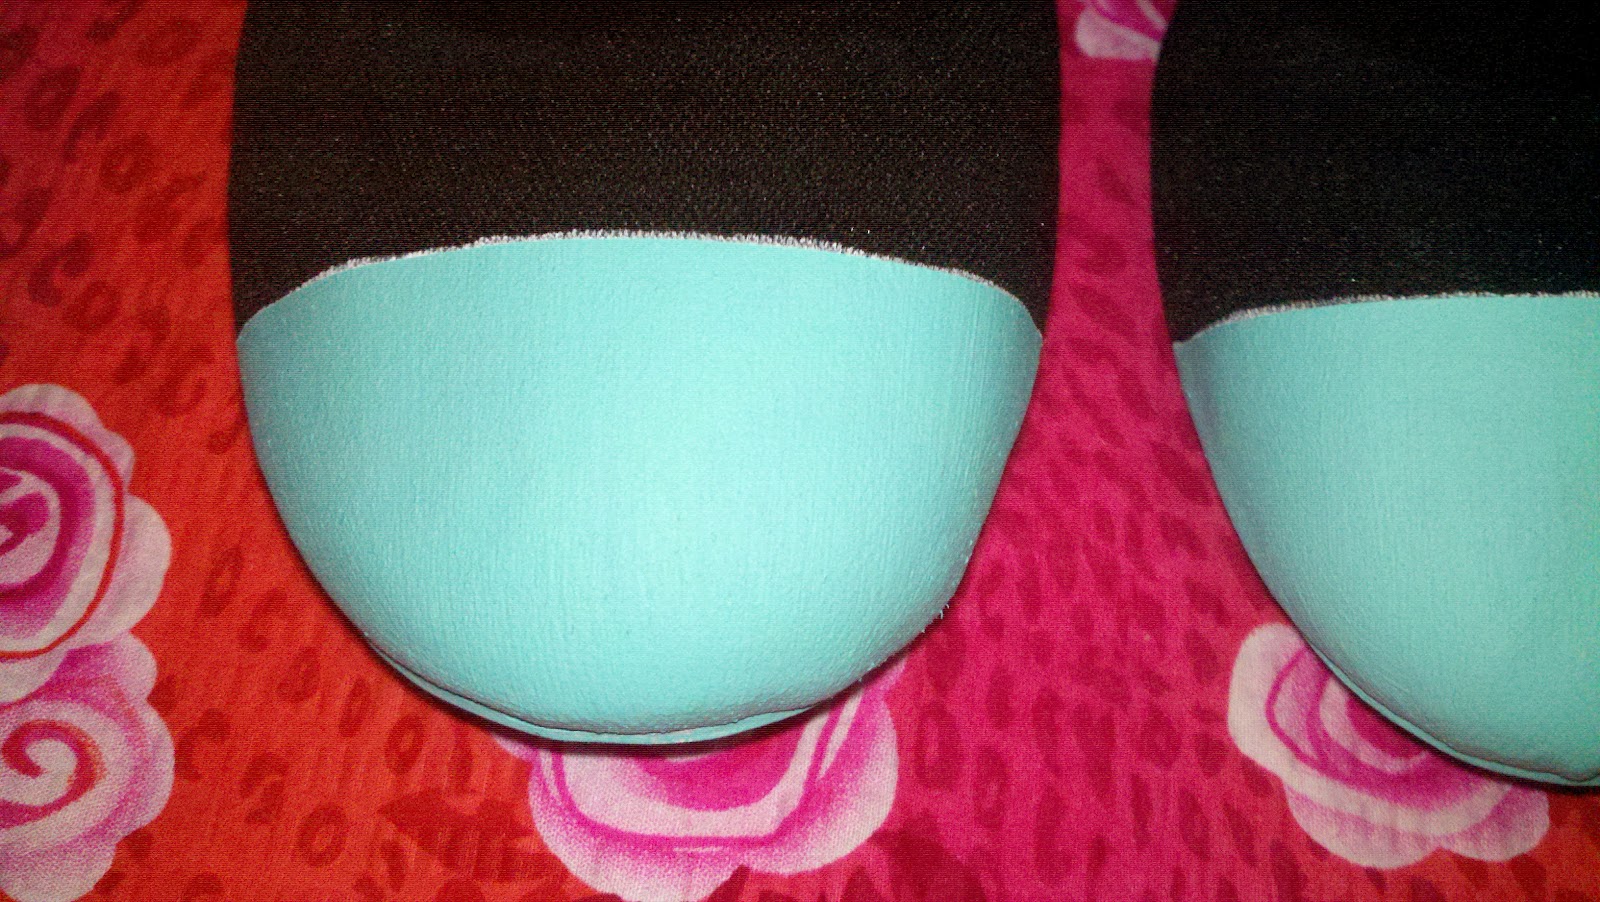
Good evening! More like good morning, but whatever. Anyway, today I'm going to show you, my lovely readers, how to spruce up to your flats, the cheap and easy way. If the they're old and worn out or scuffed up, this is the perfect solution! So, without further ado...
What you'll need:
Decide how much of the toe you want to be painted. Tape above the section you want painted, being careful to make sure that it is even on both shoes.
Step Two:
Take the white paint and using long, even strokes, paint one thin coat on the toe. Make sure you get off all excess and try not to let streak. Let dry. Paint another coat of white and let dry.
Step Three:
Once the white is dry, paint a thin coat of your color of choice using long even strokes. Let dry. For the final coat, use a thicker coat, almost like you're using too much paint, to make a thick covering. Let dry, this will take about an hour.
Step Four:
Peel the tape off once dry and enjoy your new flats!
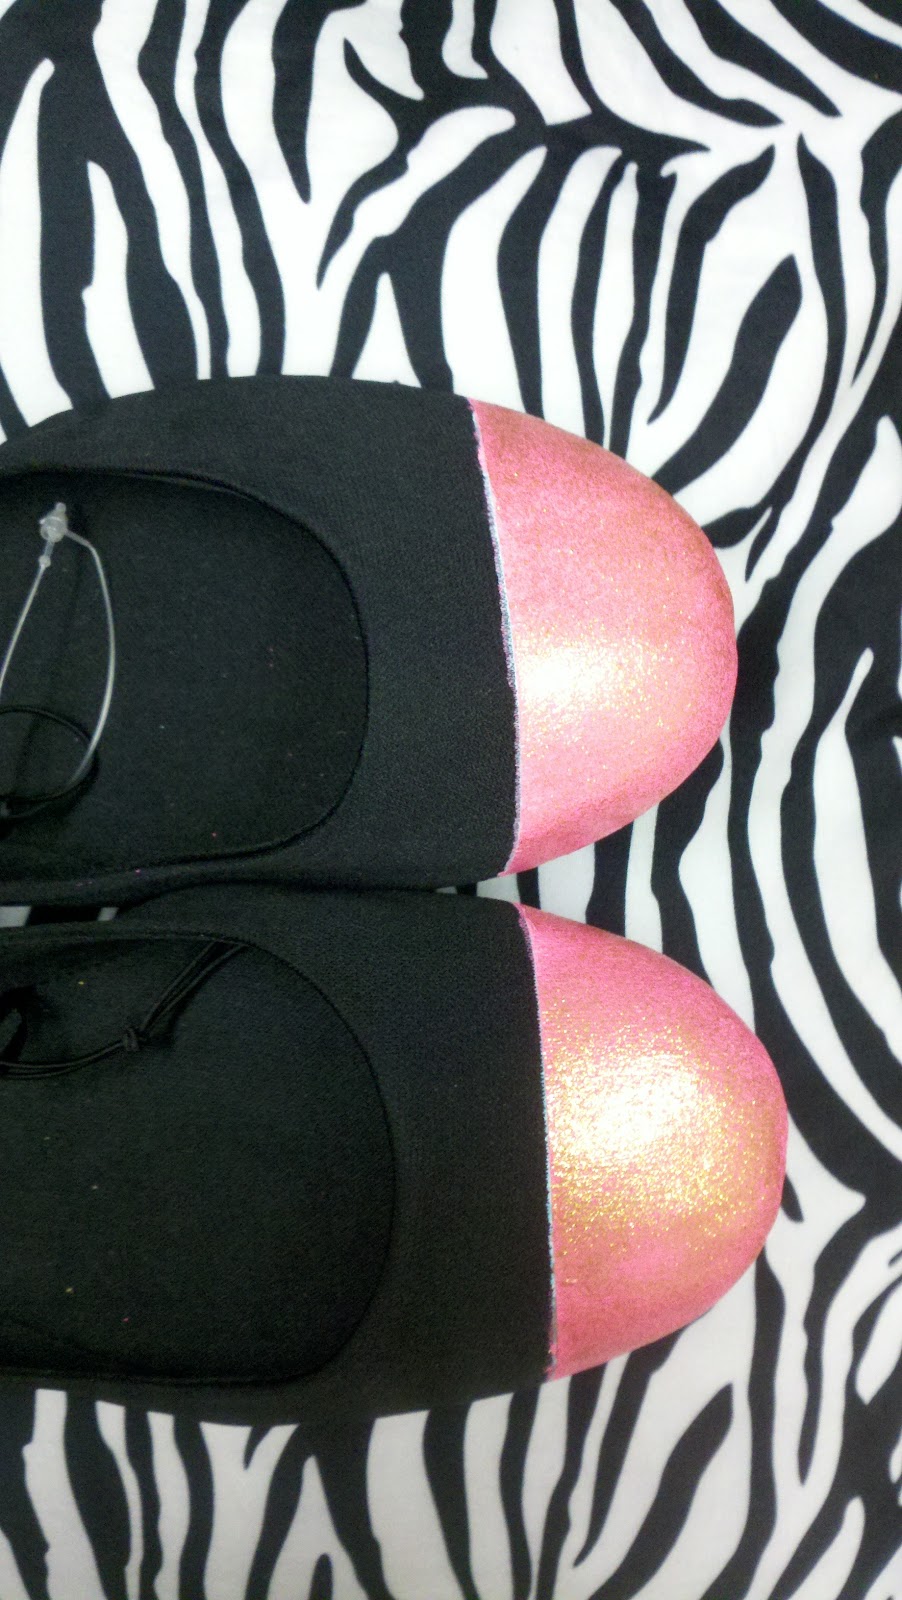
Here's a picture of another pair I made:
Despite having to wait for the paint to dry, it's a very simple and fast project and your shoes look so cute.
What you'll need:
- Flats - any color, mine are cheapies from Walmart - they're not online, but you can get them in the store for just $5!
- Sponge brush thing or paint brush.
- White acrylic paint
- Acrylic paint of your choice (mine is called Patina by Folk Art, looks like Tiffany green)
- Painter's tape or packing tape
Decide how much of the toe you want to be painted. Tape above the section you want painted, being careful to make sure that it is even on both shoes.
Step Two:
Take the white paint and using long, even strokes, paint one thin coat on the toe. Make sure you get off all excess and try not to let streak. Let dry. Paint another coat of white and let dry.
Step Three:
Once the white is dry, paint a thin coat of your color of choice using long even strokes. Let dry. For the final coat, use a thicker coat, almost like you're using too much paint, to make a thick covering. Let dry, this will take about an hour.
Step Four:
Peel the tape off once dry and enjoy your new flats!
Here's a picture of another pair I made:
Despite having to wait for the paint to dry, it's a very simple and fast project and your shoes look so cute.
Subscribe to:
Posts (Atom)